I've been working on a project for three days or so now. Maybe four, if you count the night I spent cutting pieces of paper so I could tape them together in the morning.
I don't particularly care for print-at-home patterns, by the way.
It's a relatively simple A-line skirt, but it required 54 pages of A4 paper, which needed to be taped together precisely or you get buckling and misaligned things which lead to misshapen or wrongly-sized pieces. No pressure.
I much prefer patterns I've drafted myself but I don't have nearly enough paper to draft as many patterns as I want to. Even after bringing home 5+m from school! I've gotta save that for schoolwork, anyways. (Thanks, CoViD) I've got the underlayer of the front traced off with 1cm seam allowance, though, because of the lining fabric I was trying to use. I needed to be more conservative than Sean Hannity with regards to my fabric, being that I only had half a meter, and frankly I should've ignored the grain line and cut it on the straight grain. Should've, but I didn't. And now that failed lining bit is destined to become face masks, if I can work out the patterns.
 |
| The failed lining, may it rest in pieces. |
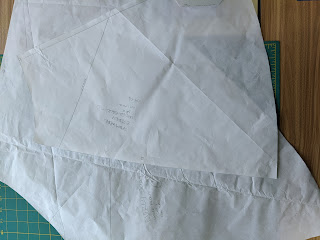 |
| My attempts at redrafting the skirt somewhat. |
Anyways, it was for a competition and the deadline has now been extended to mid-May, so all this rushing I've done has been completely unnecessary. :v
[Note from future-me: I missed the deadline because I thought it was midnight on the 15th rather than midnight on the 14th. Whoops.] But I'll have a new skirt, at least. And I've managed to learn a few lessons:
- I hate print-at-home patterns. I will gladly pay too much money for Officeworks to print them out for me.
- Always wash your fabric asap, even the stuff you don't have a project in mind for. You never know when you might need a new lining because your planned lining fabric isn't cooperating.
- Take pictures of your progress, because there's a bunch of things I should've probably taken photos of to submit for this competition (tracing & modifying the pattern for the underlayer, the failed lining, the basting...) but I didn't.
- I should really get a proper binder to set up as a project Bible. For all my projects, not just the costuming ones.
Everything below this is more on the skirt, from future-me on 21/5/20.
 |
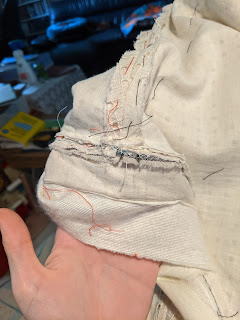
| Basting and waistband stitching. |
As I was sewing down the waistband, I realized it was actually a pretty good shot of the basting I'd done to keep the lining in place.
Protip for basting: use a thread that really contrasts your fabric(s) so you can see it. Baste it while it lays flat. Smooth it down constantly. You're not doing it enough, I promise. I am constantly smoothing my fabric layers and I swear it's never enough.
 |
| Waistband interior. |
The interior of the waistband was faced with fusing I'd nicked from the scraps bin at school. I cut a length of the main fabric 4 'holes' wide, plus the selvedge (another 2 inches or so) and folded it in half. Perfect, really. I ironed the fusing to the voile, and stitched 'em up, treating the folded main fabric as one piece rather than two.
And then, it sat.
I finally got around to hemming the skirt at the end of April. Loads more trouble than you might think, as I turned under the cotton lining and sewed that to the turned-under part of the second layer.
 |
| I do love a good action shot. |
Once the hem was sewn it was time to pull out the basting threads. Finally. Out they came!
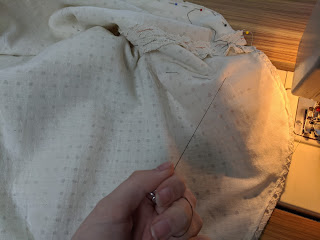 |
| Pulling out the basting... |
And then I tried it on. (That was my first mistake.)
As I was taking it off, I literally pulled the zipper pull off the track. I broke the zipper and it hadn't even been outside the sewing room. So it sat in the Naughty Corner for a while, until finally on May 1st I sighed, grabbed the seam ripper, and sat down to rip.
 |
| Rip, rip, rip. Sigh. |
I put a new zipper in and sewed up the holes I'd had to make. For finishing touches, of course, a tag saying THIS IS THE BACK, because it's one of those things I'd be liable to forget otherwise.
 |
| THIS IS THE BACK |
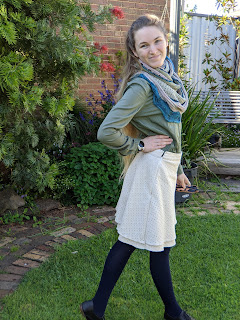
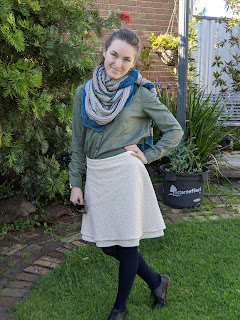
And of course, what you've all been waiting for, pics of me in the skirt itself. It's pretty cute,


Comments
Post a Comment